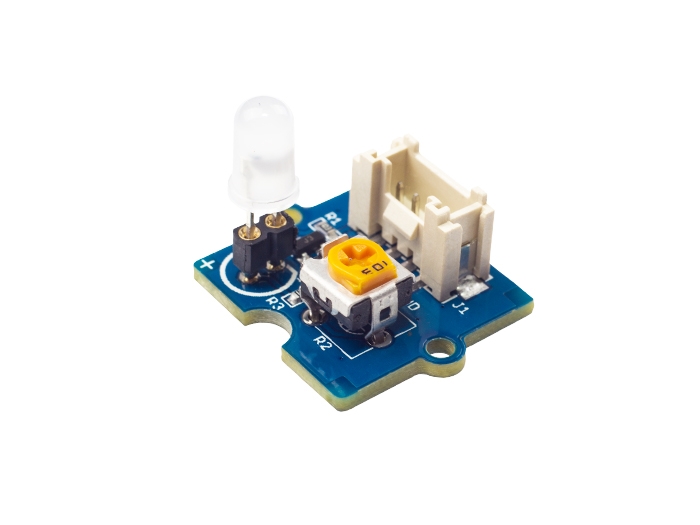
Grove LED Socket Kit

Grove - LED is designed for the beginners of Arduino/Seeeduino to monitor controls from digital ports. It can be mounted to the surface of your box or desk easily and used as pilot lamp for power or signal. Its brightness can be adjust by potentiometer.
Features
Grove compatible interface
3.3V/5V Compatible
Adjustable LED orientation
Adjustable LED brightness
Specification
**Item**
**Description**
LED Control Mode
Digital Pin of Arduino
Working Voltage
5V
Supply Mode
Grove Interface
Get Started with Aduino
Here we show how to use Arduino to control the state of the LED.
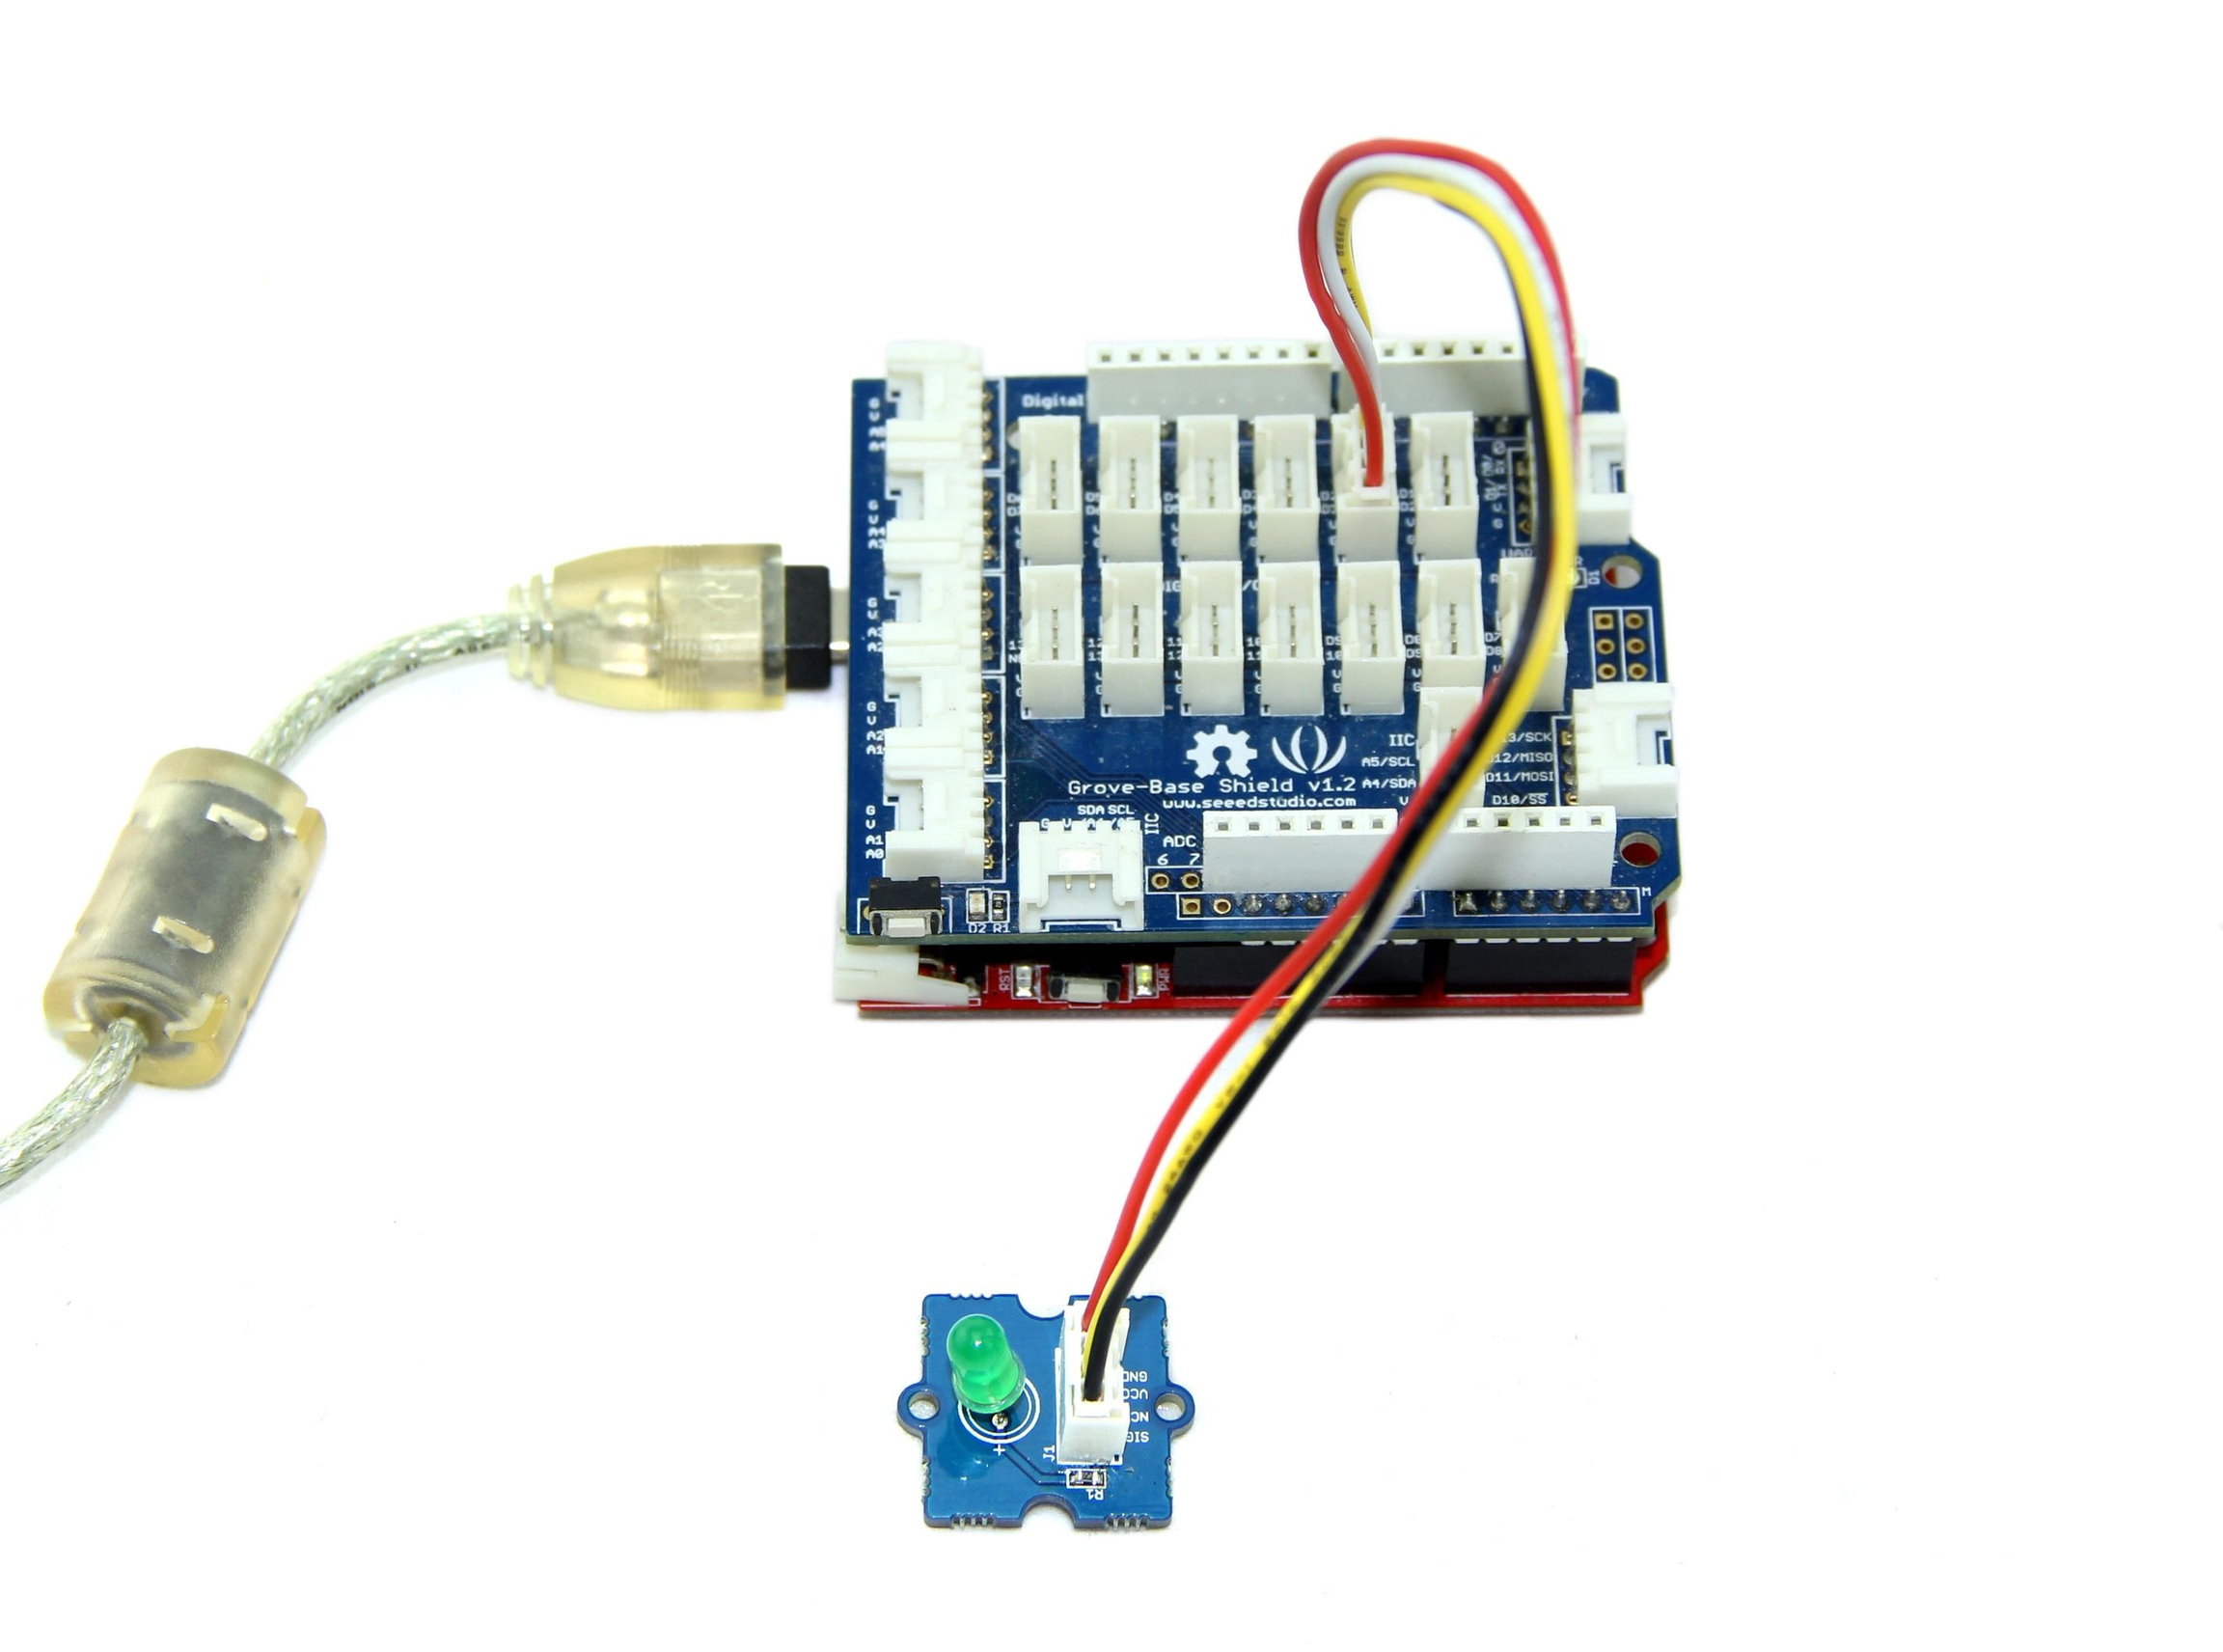
1.Connect the LED to Base Shield's digital port 2 with 4pin Grove Cable.Of course you can change to other valid digital ports if it's necessary and the definitions of the port should be changed too.
2.Plug it onto the Arduino/Seeeduino. Connect the board to PC using USB cable.

3.Copy the demo code to your sketch, then upload to Arduino or Seeeduino board. Please click here if you do not know how to upload.
You will see the LED blink every second.
Get Started with Raspberry Pi
Connect the LED to Port D4 and power on the Raspberry Pi, using the Grove wire connector. This is a test to make led blinking. You can connect to GrovePi+ with it as the picture below.
Run The Program
Find the path to the file(According to your own path)
Run Program
Resources
Last updated