Grove LED Matrix Driver v1.0
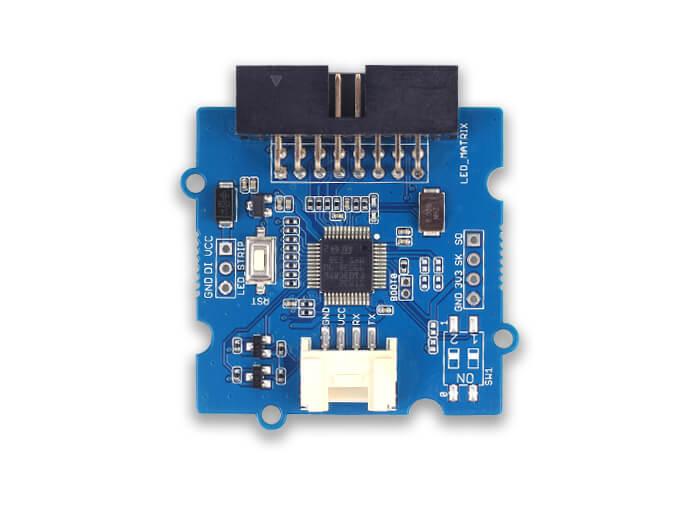
Grove - LED Matrix Driver v1.0 is UART (Serial) to dot matrix LED driver that incorporates various graphics functions.It can only support 32×64 LED matrix. This product is a Grove compatible UART interface. It provides easy and rich APIs that abstract the complexity of the underlying LED driving hardware. All you need to is just call these APIs in code to implement different functionalities for your project.
Each dot(i.e pixel) support dual color LEDs. It can produce three colors totally: red (primary color), green(primary color) and yellow (mixed color). The input current for all LEDs can be set at a time.
Note This Grove module does not support changing the input current of each LED separately.
Features
Grove compatible and easy to use
Highly abstracted and complete API
Support dual-color LED-pixel. Three colors totally (the third color is a mix of two primary color)
Interface: UART(SoftSerial in Arduino)
!!!Tip More details about Grove modules please refer to Grove System
Specifications
Parameter
Value
Operating voltage(V)
3.3–5 Volts
Operating current(mA)
Maximum: 28–50 mA
Output voltage (from matrix driver)
3.3 Volts
Symbols/Graphics functions supported
Dot, straight line, circle, char, string, number, emoji, image (you can display these symbols by calling API directly in code)
Supported LED matrix size
32(row)×64(column)
Supported color in each LED matrix dot
Dual LEDs (green and red) and a mixed color(yellow), and you can use only one LED in each LED matrix dot
Connector for LED matrix
DBSTAR_HUB 08A
Protocol for Grove port
UART
Working temperature
-40–80 ℃
Dimensions
46.5×44 mm
Weight
9 g(for the module), 12.5(for all single package)
Platforms Supported
Hardware Overview
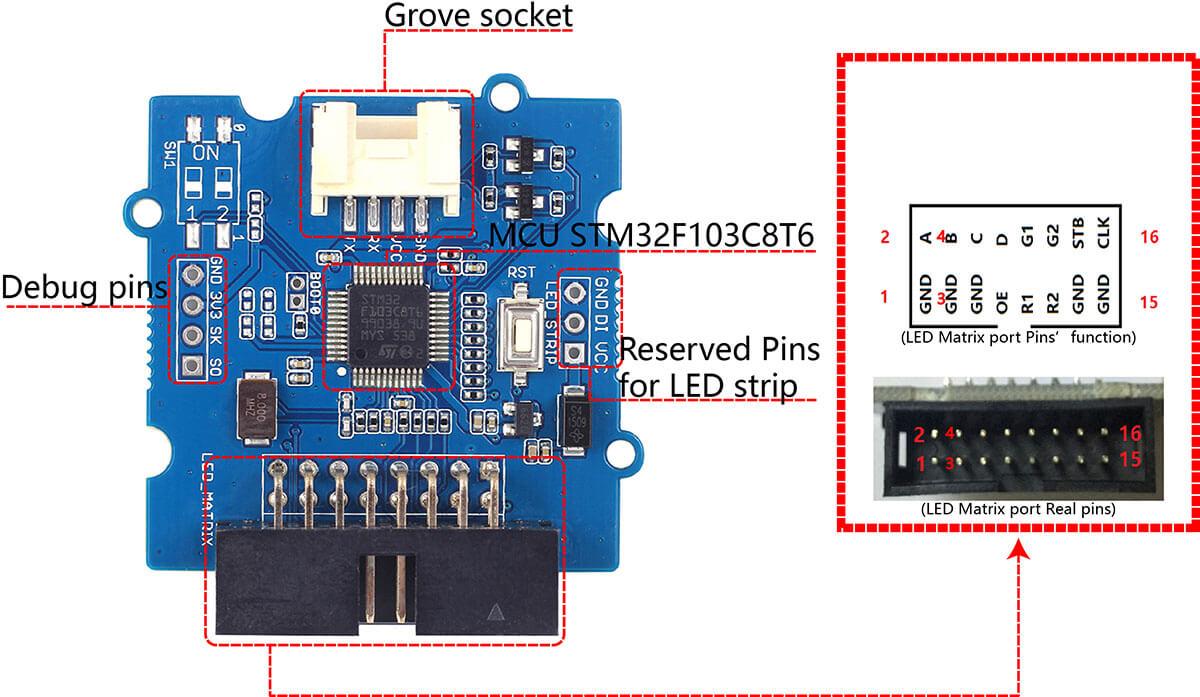
Grove socket, to connect this product to main control board.
LED matrix port(DBSTAR_HUB 08A ), to connect LED matrix. If you can not find a connector like this, you can user jumper wires as an alternative.
Package includes(main parts)
Getting Started
Now let us run some basic examples with this module.
With Arduino
Material required
Grove - LED Matrix Driver v1.0 × 1
32×64 LED matrix with one red and one green LEDs in matrix dots (single color LED matrix will also be fine) × 1
Power line (ribbon shape) for × 1
5 Volts(output) Adapter to regulate input voltage for LED matrix × 1
8-pin(female) ribbon cable × 1
Arduino UNO (other Arduino models will also be fine) × 1
Grove cable × 1
Grove - Base Shield × 1
Connections
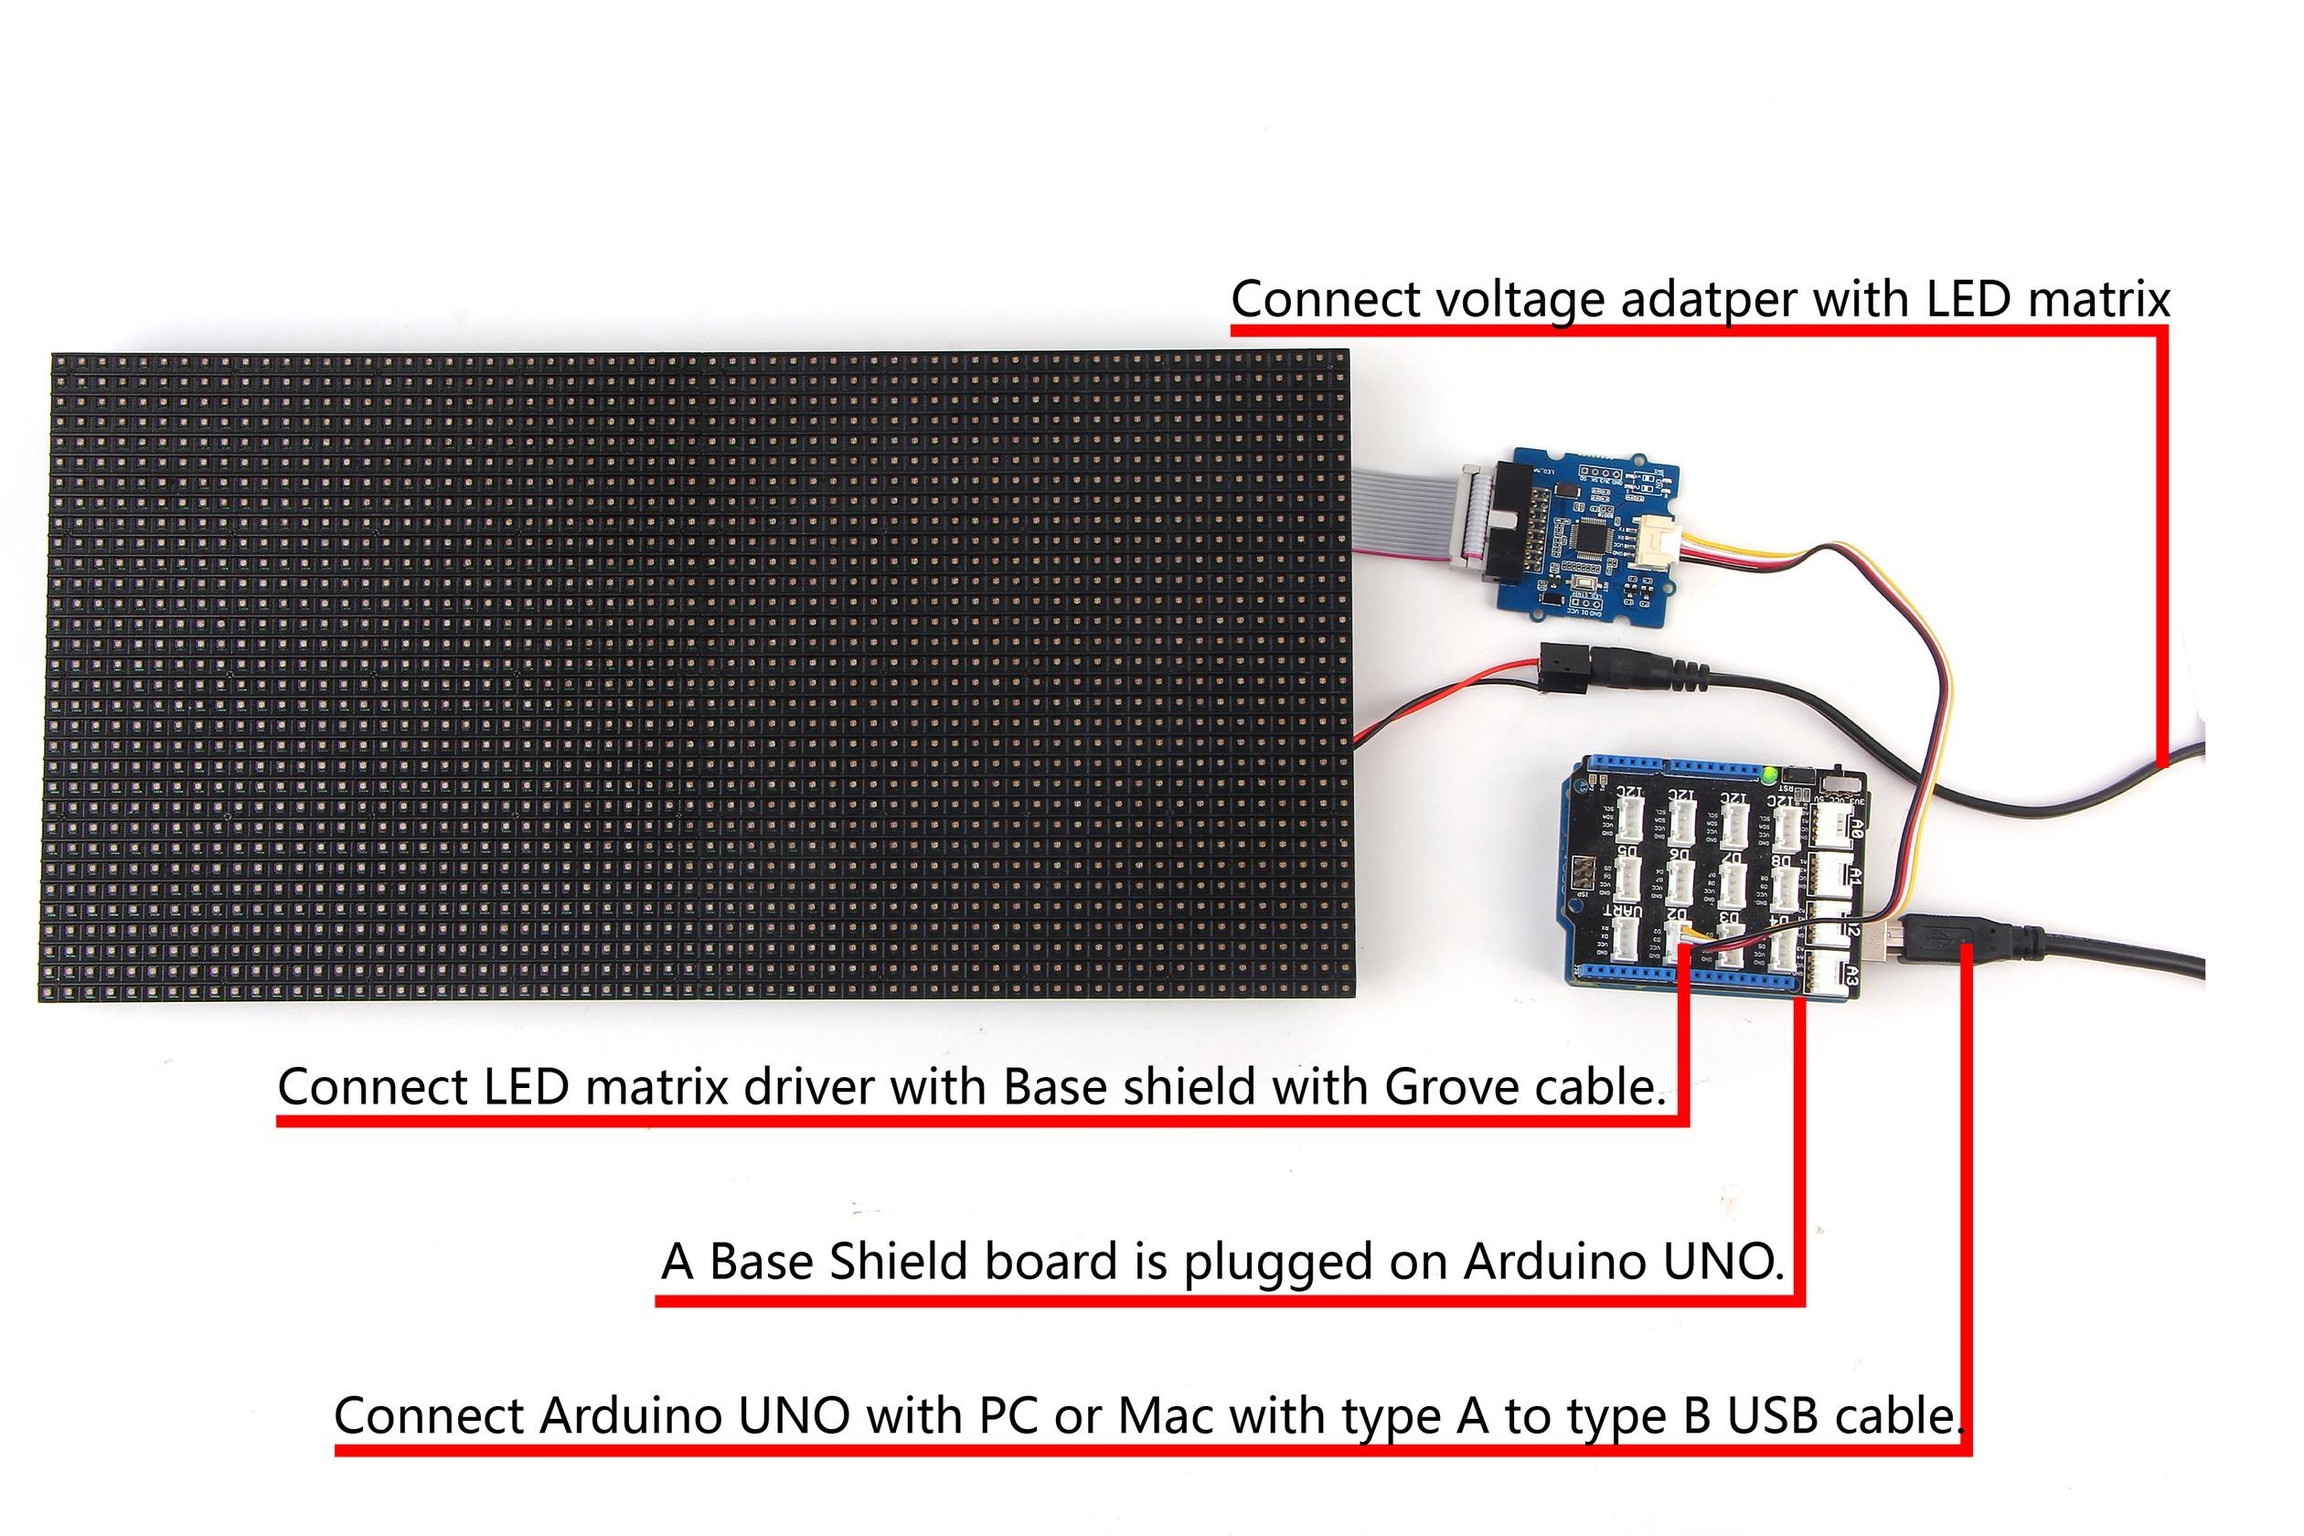
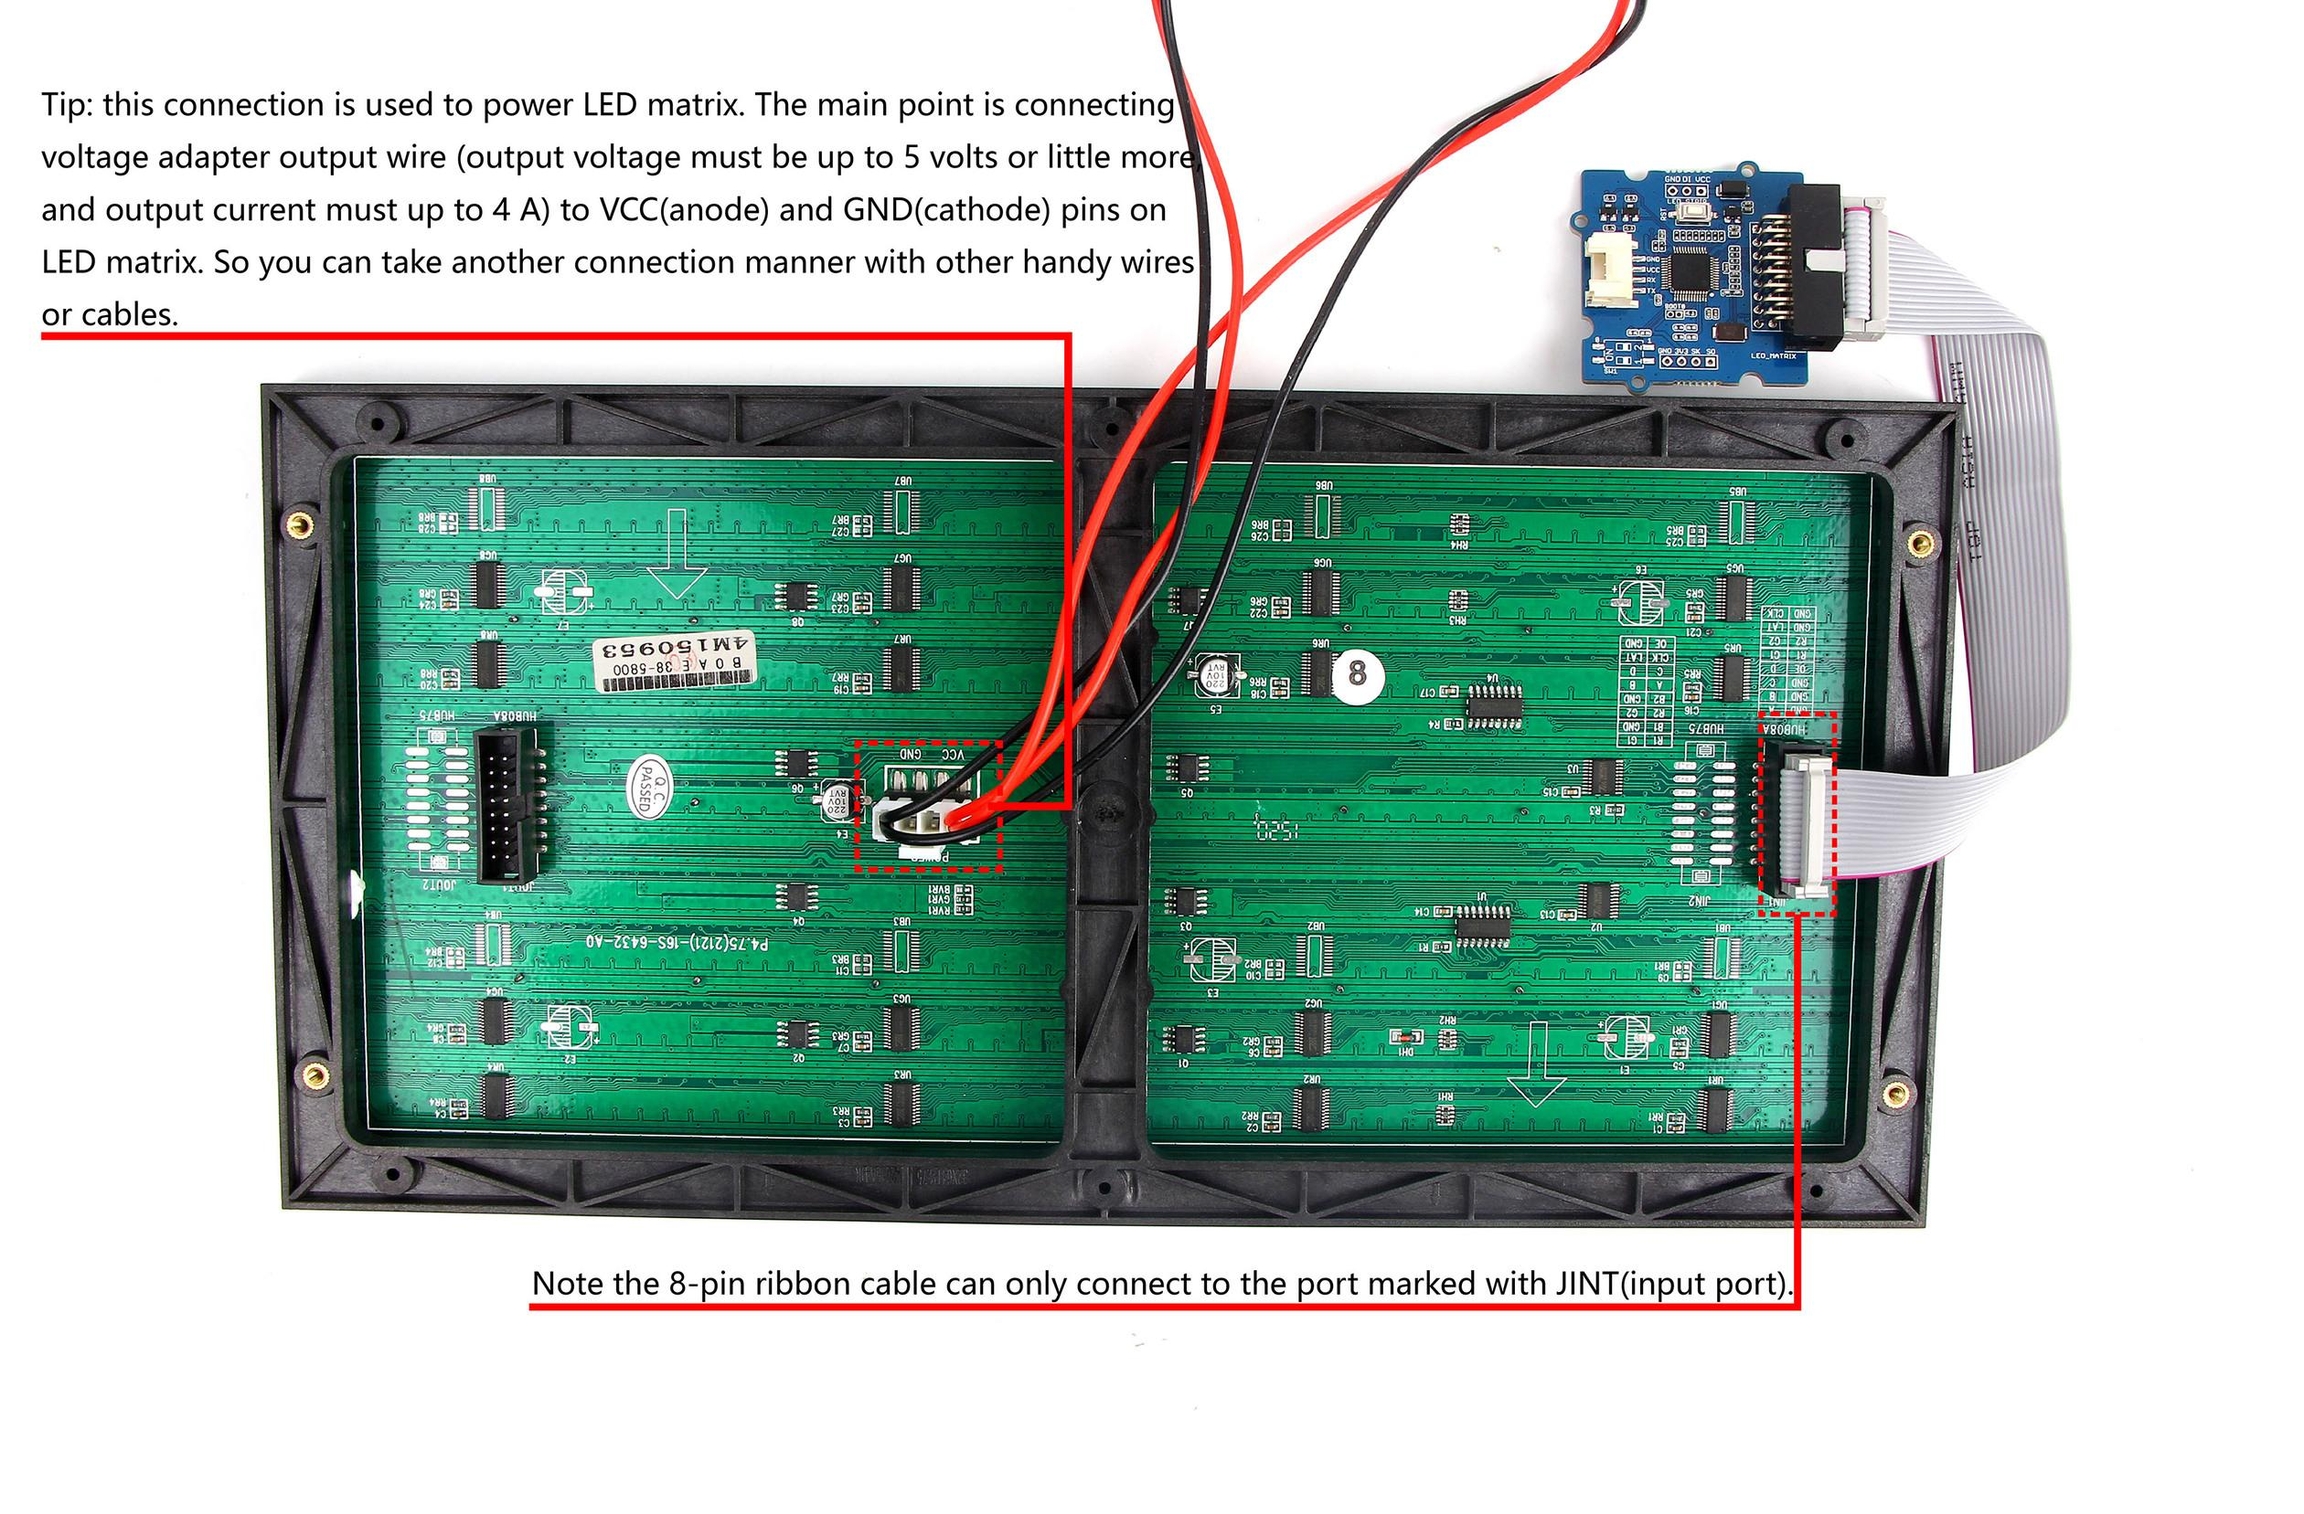
Connect all parts as following:
Coding Work
You can find more demo sketch at https://github.com/Seeed-Studio/Grove_LED_Matrix_Driver and development library at https://github.com/Seeed-Studio/Grove_LED_Matrix_Driver/tree/master/Arduino/LEDMatrix
A typical demo code. You can upload code to main control board with Codebender.
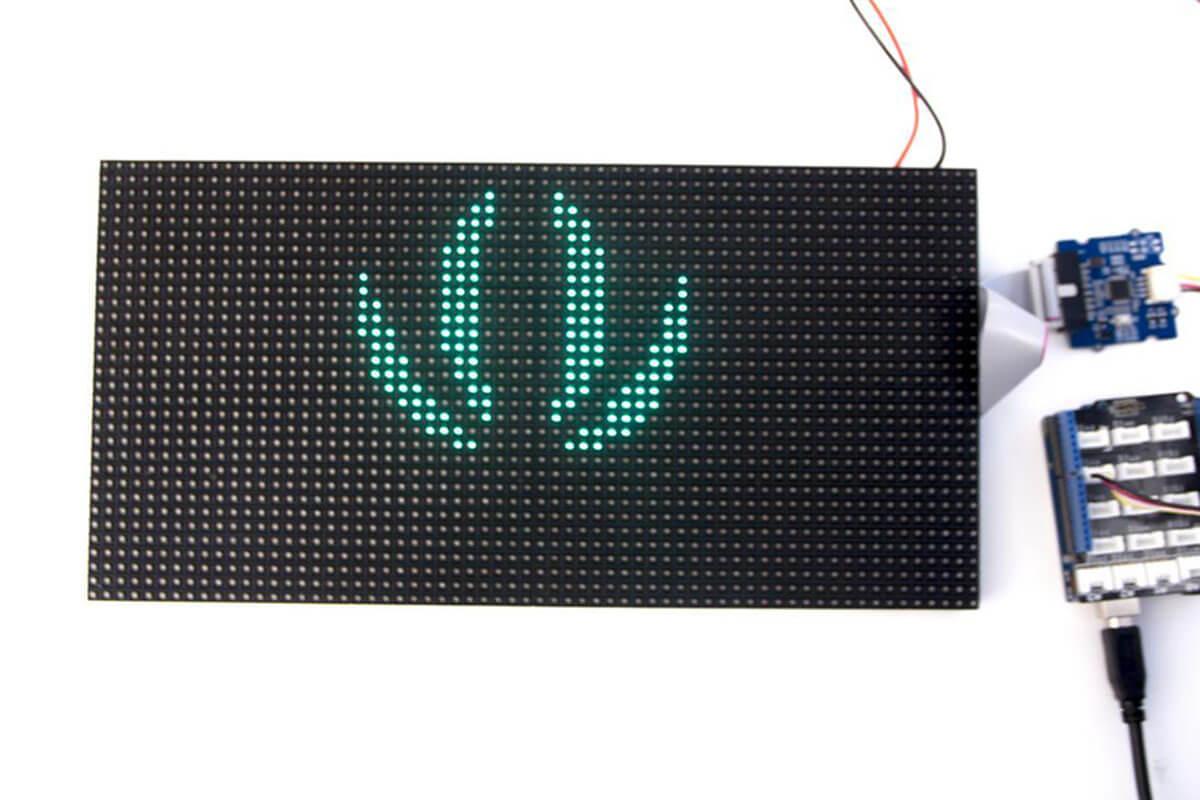
Download and upload the code. If you do not know how to upload an Arduino sketch, please visit https://www.arduino.cc/en/Guide/Windows for Windows user or https://www.arduino.cc/en/Guide/MacOSX for Mac user. You can see the result as below.
Resources
Last updated
Was this helpful?