Grove Relay
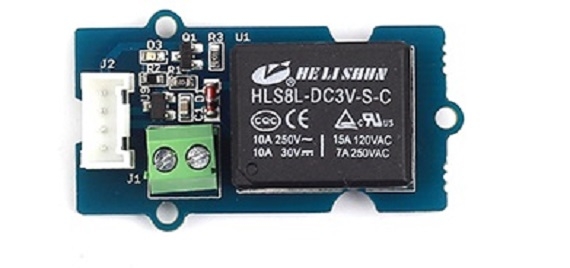
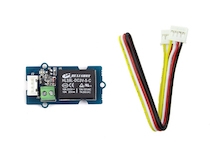
The Grove-Relay module is a digital normally-open switch. Through it, you can control circuit of high voltage with low voltage, say 5V on the controller. There is an indicator LED on the board, which will light up when the controlled terminals get closed.
Specifications
Parameter
V1.1
V1.2
Product Release Date
27th Jan 2013
9th June 2014
Operating Voltage
5V
3.3V~5V
Operating Current
60mA
100mA
Relay Life
100,000 Cycle
100,000 Cycle
Max Switching Voltage
250VAC/30VDC
250VAC/30VDC
Max Switching Current
5A
5A
!!!Tip More details about Grove modules please refer to Grove System
Platforms Supported
Getting Started
With Arduino
Connection
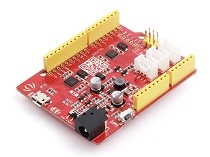
Here we will show you how this Grove - Relay works via a simple demo. First of all, you need to prepare the below stuffs:
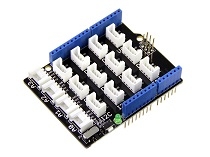
Connect Grove-Relay module to the Digital 4 port of Grove- Base Shield.
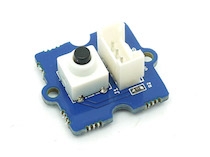
Connect Grove-Button module to the Digital 2 & 3 ports of Grove- Base Shield.
Plug Grove- Base Shield into Arduino.
Connect Arduino to PC via a USB cable.
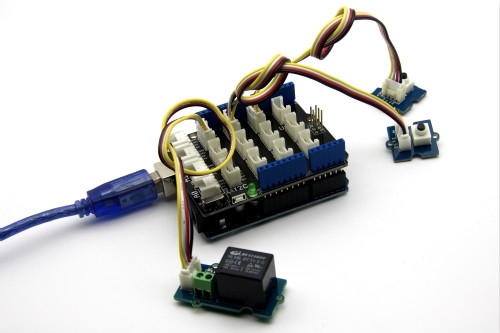
!!!Note If we don't have the base shield, we also can directly connect the Grove-Relay and Grove-Button to Arduino board. Please follow below connection.
Grove-Relay
Arduino
GND
GND
VCC
5V
SIG
D4
Grove-Button#1
Arduino
GND
GND
VCC
5V
SIG
D2
Grove-Button#2
Arduino
GND
GND
VCC
5V
SIG
D3
Software
Below is a demo that shows you how to control a Grove - Relay with a Grove - Button. When one button gets pressed, the relay will close. When the other button gets pressed, the relay will open.
With TI LaunchPad
Controlling other electronics (Relay)
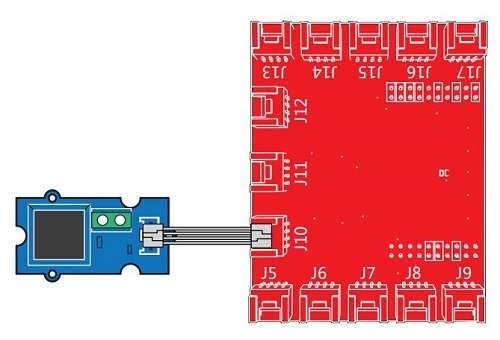
This example shows how to use the Grove-relay module to control larger load, i.e. a desk lamp light. A 3V voltage signal can cause the relay to switch on, allowing current to flow through the connected appliance.
With Raspberry Pi
Connection
First, We need to prepare the below stuffs:
Follow instruction to configure the development environment.
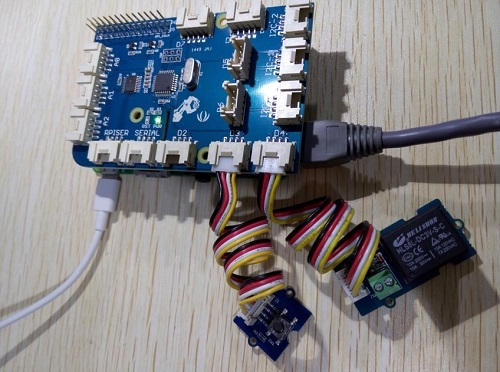
Plug Grove-Button to D3 port of Grovepi+.
Plug Grove-Relay to D4 port of Grovepi+.
Software
This demo shows you how to use Grove - Relay by Raspberry Pi .
Find the path to the file(According to your own path)
Run the Program
Resources
[Datasheet] HLS8-T73 Series Relay Datasheet
Last updated
