Grove Air Quality Sensor v1.3
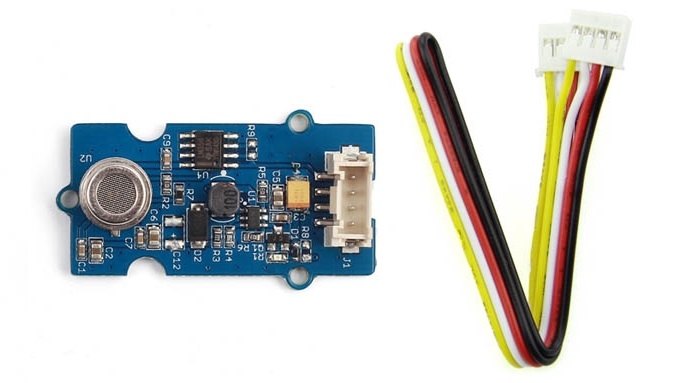
 This sensor is designed for comprehensive monitor over indoor air condition. It's responsive to a wide scope of harmful gases, as carbon monoxide, alcohol, acetone, thinner, formaldehyde and so on. Due to the measuring mechanism, this sensor can't output specific data to describe target gases' concentrations quantitatively. But it's still competent enough to be used in applications that require only qualitative results, like auto refresher sprayers and auto air cycling systems.
Features
Responsive to a wide scope of target gases
Cost efficient
Durable
Compatible with 5V and 3.3V
!!!Cautions 1. Requires relatively clean air as an initial condition. 2. Long time exposure to highly polluted air can significantly weaken its sensitivity. 3. Coffre-fort et armoire forte:
Usage
With Arduino
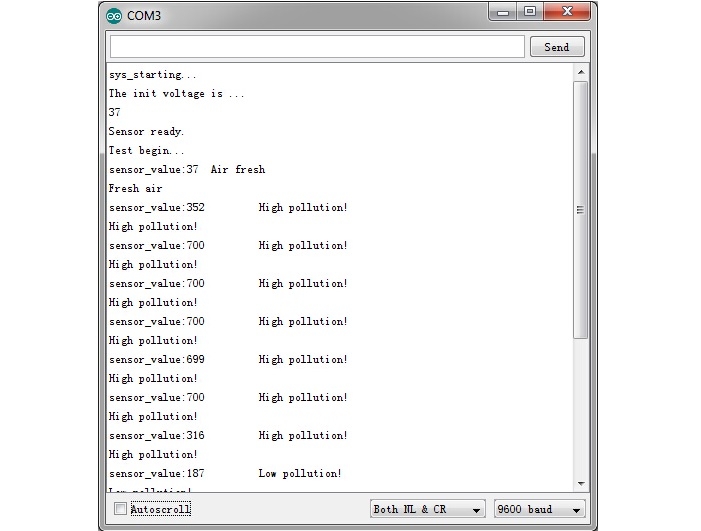
As described in Introduction, this sensor performs better in providing qualitative results over a wide scope of target gases. In this demo, we will define 4 statuses for reference in the '.cpp' file. They are:
a. air fresh -- indicating a good air condition
b. low pollution -- indicating a rather low concentration of target gases exist.
c. high pollution(without "Force signal active" message printed on serial monitor) -- you should be aware of the pollution level and consider if some measures could be taken.
d. high pollution(with "Force signal active" message printed on serial monitor) -- instant measures should be taken to improve the air quality.
We encapsulated the decision structure in a '.cpp' file. You can find information there on how to modify the thresholds.
Let's try it out!
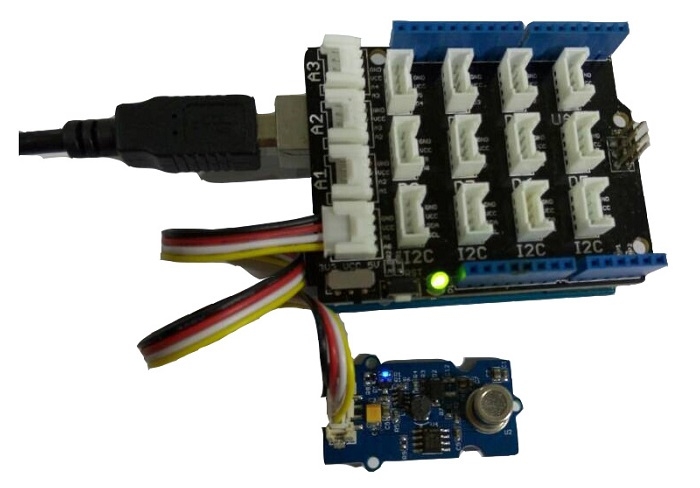
1.Connect the Sensor to A0 port of Grove - Base Shield.

2.Download the File :AirQuality_Sensor Library.
3.Wait at least 2 minutes after powering on for heat-up of the sensor. Then open the example below by the path: File -> Example ->AirQuality_Sensor->AirQuality_Sensor.
4.Upload the code.
5.Open serial monitor.

To adjust the thresholds and indicating messages, refer to the decision structure below in the .cpp file.
With Raspberry Pi
1.You need to prepare a raspberry pi and a grovepi or grovepi+.
2.You need to completed configuring the development enviroment, otherwise follow here.
3.Connection
Plug the sensor to grovepi socket A0 by using a grove cable.
4.Navigate to the demos' directory:
To see the code
5.Run the demo.
Resources
Last updated
Was this helpful?