Grove Servo

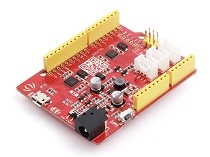
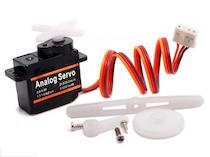
Grove - Servo is DC motor with gearing and feedback system. It is used in driving mechanism of robots. The module is a bonus product for Grove lovers. We regulated the three-wire servo into a Grove standard connector. You can plug and play it as a typical Grove module now, without jumper wires clutter.
But if you feel more like a proto servo, check out EMAX 9g ES08A High Sensitive Mini Servo. They are the same model, both of good quality and burden-free price.
Feature
Small module
Grove Compatible Interface
Easy to use
Specification
Item
Min
Typical
Max
Unit
Working Voltage
4.8
5.0
6.0
V
Torque
1.5/1.8
Kg.cm
Speed
0.12/0.16
s/60°
Size
32X11.5X24
mm
Weight
8.5
g
Platforms Supported
Getting Started
Connection
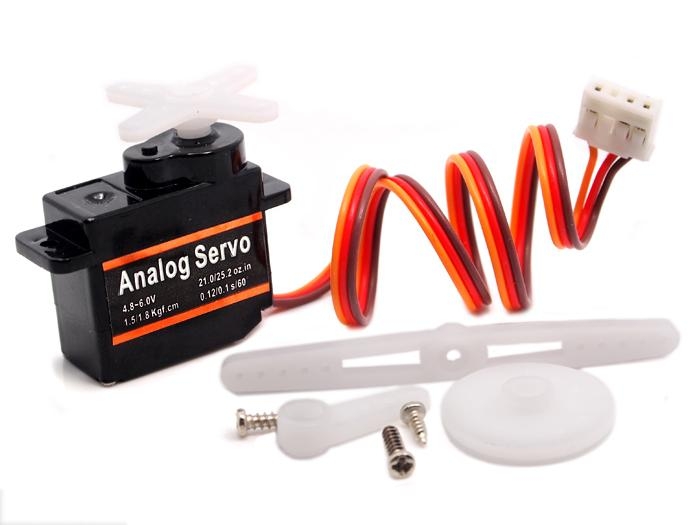
Here we will show you how this Grove - Servo works via a simple demo. First of all, we need to prepare the below stuffs:
The Servo has three wires: power, ground, and signal. The power wire is typically red, and should be connected to the 5V pin on the Arduino/Seeeduino board. The ground wire is typically black or brown and should be connected to a ground pin on the Arduino board. The signal pin is typically yellow, orange or white and should be connected to Digital 9 on the Arduino board. We can change to the digital port as we like. But don't forget to change the port number in the definition of the demo code at the same time.
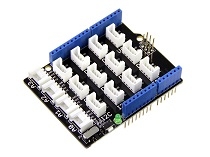
Connect the module to D9 port of Base Shield.
Plug Grove- Base Shield into Arduino.
Connect Arduino to PC via a USB cable.
Software
Let's sweep the shaft of a servo back and forth across 180 degrees by using Adruino Servo Library.
Open the code directly by the path: File -> Examples ->Servo->Sweep.

Upload the sketch. We can see the servo sweep.
Resources
[Document] Understanding RC Servos
[Library]Arduino Tutorial - Servo Library
Last updated


