Grove Gas Sensor O2
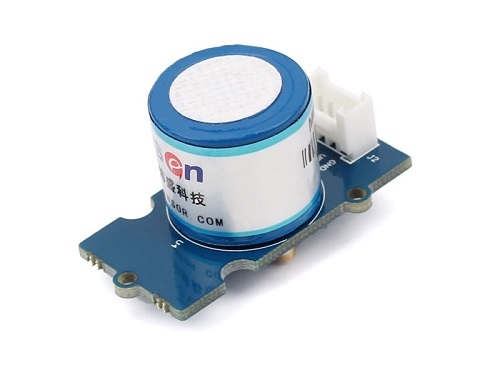
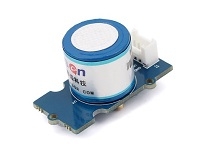
Grove-Gas Sensor (O2) is a kind of sensor to test the oxygen concentration in air, which is based on the principle of the electrochemical cell to the original work. You can know clearly the current oxygen concentration when you output voltage values proportional to the concentration of oxygen and refer to the oxygen concentration linear characteristic graph. It's very suitable for detecting oxygen concentration in the environment protection. Grove - Gas Sensor(O2) is an organic reaction module, it can provide a little current while putting it in the air, we don't need to provide an external power to it, and output voltage will change as time current changes.
Feature
High-precision
High sensitivity
Wide linearity range
Strong anti-interference ability
Extraordinary reliability
!!!Tip More details about Grove modules please refer to Grove System
Specification
Items
Parameter
Measurement Range
0-25%
Detect Life
two years
Sensitivity
0.05~0.15 mA(in air)
Temperature Range
-20 oC~50 oC
Preheat Time
20 minutes
Platforms Supported
Getting Started
!!!Note This chapter is based on Win10 and Arduino IDE 1.6.9
This an easy-to-use module, what you need to do is connect the signal pin (the YELLOW pin of Grove cable) to the ADC input of your controller. If there's no internal ADC in your controller, Grove - I2C ADC is recommend.
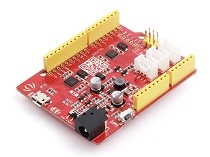
Here we will show you how this Grove - Gas Sensor(O2) works via a simple demo. First of all, you need to prepare the below stuffs:
Connection
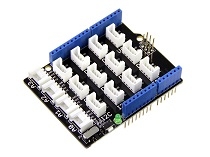
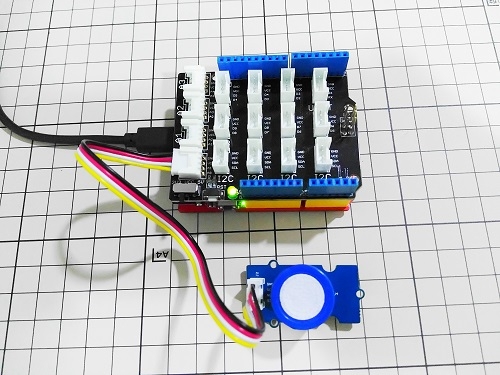
Thanks to the benefit of Grove series modules, you don't need to make soldering or bread board, what you need to do is connect the modules to the right port of Base Shield. For this demo, we have only one Grove module.
Grove - Sound Sensor is an analog output module, we connect it to A0 at this demo
Upload the code to Arduino
Copy the below code to Arduino IDE.
Then choose the right Board and COM port, and then click on the Upload button, this process take few seconds.
Get data
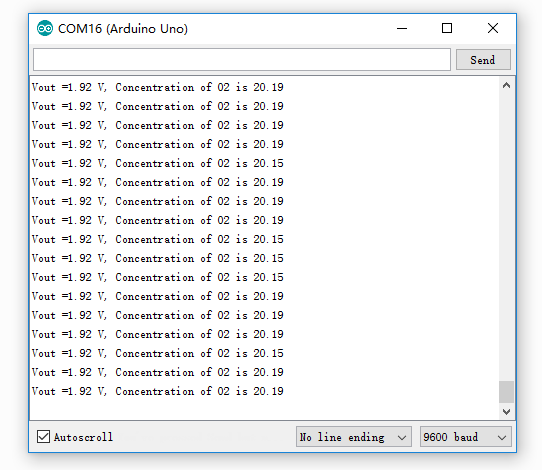
Open serial monitor of your Arduino IDE, and you will get the data now.
!!!Warning It need about 20~30 minutes to preheat the sensor, or you will get a larger value.
Resources
Last updated
