Grove Barometer Sensor BMP280

Grove - Barometer Sensor (BMP280) is a breakout board for Bosch BMP280 high-precision and low-power digital barometer. This module can be used to measure temperature and atmospheric pressure accurately. As the atmospheric pressure changes with altitude, it can also measure approximate altitude of a place. It can be connected to a microcontroller with I2C (integrated with Grove socket) or through SPI bus. We have also provided highly abstracted library to make this product easier to use.
The BMP280 is an upgraded version of BMP180. BMP280 gets dramatic improvements from BMP180. BMP280 comes with a smaller footprint, lower power consumption, lower noise measurements, higher resolutions for pressure and temperature, lower RMS noise, newly added interface SPI, more measuring modes, higher measuring rate and newly added filter against environmental interference. Since the atmosphere pressure reading is affected by altitude and temperature, we have added compensation features in the library. Hence, Grove - Barometer Sensor (BMP280) would be more reliable in providing precise temperature, atmospheric pressure values and approximate altitude data.
Using the sensor is easy. For Seeeduino (compliant with Arduino), just connect this breakout board using Grove cable to I2C Grove connector. Then, use the provided library and example code from GitHub. If you are using an Arduino either use Base Shield v2.0 or simply connect the VCC pin to the 5V voltage pin, GND to ground, SCL to I2C Clock (Analog 5) and SDA to I2C Data (Analog 4).
Typical applications: Enhancement of GPS navigation, outdoor/indoor navigation, weather forecast, or any other project that requires an accurate atmospheric pressure reading.
Features
Get more precise temperature, atmospheric pressure values, and approximate altitude data.
Grove compatible and easy to use
Highly abstracted library for building projects quicker
!!!Tip More details about Grove modules please refer to Grove System
Specifications
Parameter
Value
Input voltage
3.3V or 5V
I/O voltage
3.3V or 5V
Operating current
0.6mA
Operating temperature
-40 - 85 ℃
Effective pressure measurement range
300 - 1100 hPa (1 hPa= one hundred Pa) with ±1.0 hPa accuracy
Temperature measurement accuracy
±1.0°C
Measurement modes
Piezo & Temperature, forced or periodic
Chip
BMP280 (datasheet)
Possible sampling rate
182 Hz (typical)
Interface Bus
SPI, I2C (use either one of them)
Weight
3 g (for breakout board)
Dimensions
40 (width) × 20 (depth) mm
Notes
1. We will show/describe how to select interface bus soon.
2. The altitude is calculated by a combination of temperature and atmospheric pressure. No specialized components for altitude.
Platforms supported (only for battery)
Platform
Seeeduino/Arduino
Rasberry Pi
Beaglebone
LinkIt ONE
Supported status
Supported
Not supported
Supported
Supported
Notes
If no version number is present for a specific platform, it means this product supports all versions within this platform.
Hardware Overview

SPI soldering pads, a voltage monitoring circuit.
Interface bus selection pads , to select I2C bus, connect the two pads by soldering (this is connected by default); to select SPI bus, cut the two pads with a sharp knife or a soldering iron.
Slave board address selection pads, to select slave board address to avoid address collision.
If you have selected I2C bus, the default address for slave board is 0x77(right-two pads are connected). If you want to use the address 0x76, connect only left two (disconnect right two) by soldering.
Tips: You can disconnect pads with just a sharp knife.
If you have selected SPI bus, the default address for slave board is 0x77(right-two pads are connected). If you want to use the address 0x76, disconnect all three pads.
Note Do not touch or shake or let this product in vibration when it works. This will cause interference and will affect the accuracy of data collected.
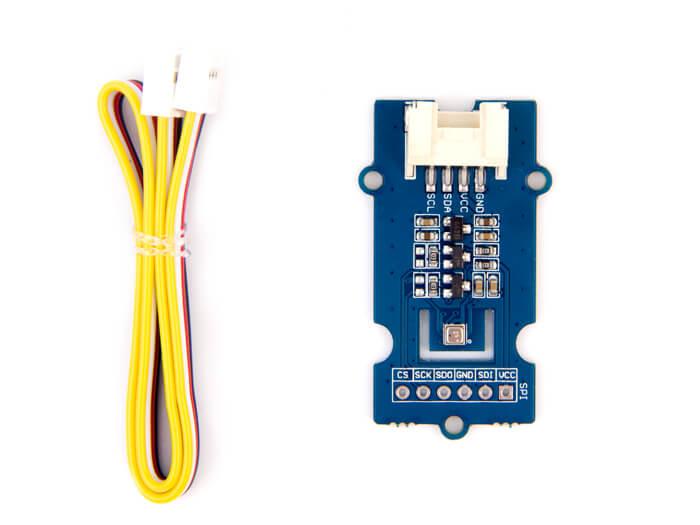
Package includes (main parts)
Getting Started
Now let us run some basic examples with this module.
With Arduino
This section shows you how to build a simple project with Arduino platform. Even if you are using a different type of main control board, these instructions and source code are useful.
Materials required
Grove - Barometer Sensor (BMP280) × 1
Seeeduino 4.2 (fully compatible with Arduino) or Arduino UNO (other models are also fine) × 1
Grove - Base Shield × 1 (it is optional if you are using Seeeduino which has two I2C sockets on Seeeduino v4.2)
USB cable (type A to type B, for Arduino) × 1 or USB cable (Type-A to micro Type-B, for Seeeduino) × 1
Grove cable × 1
Connections
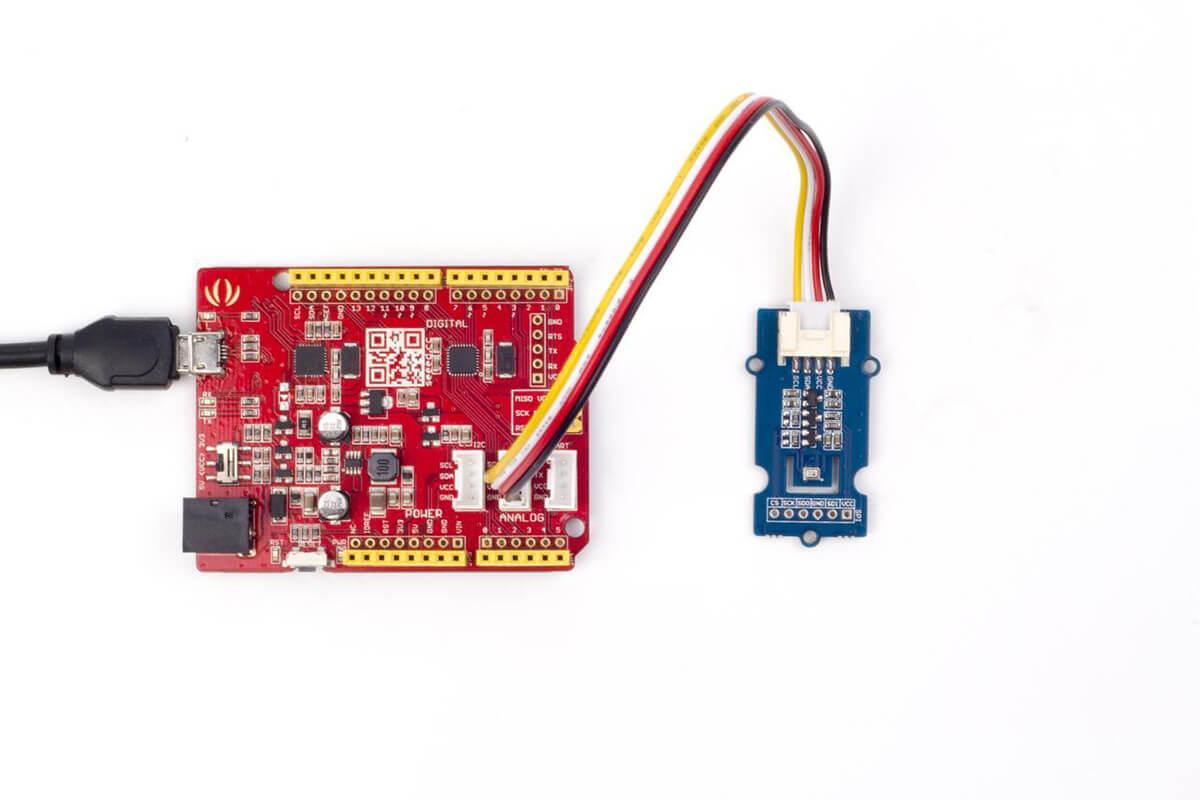
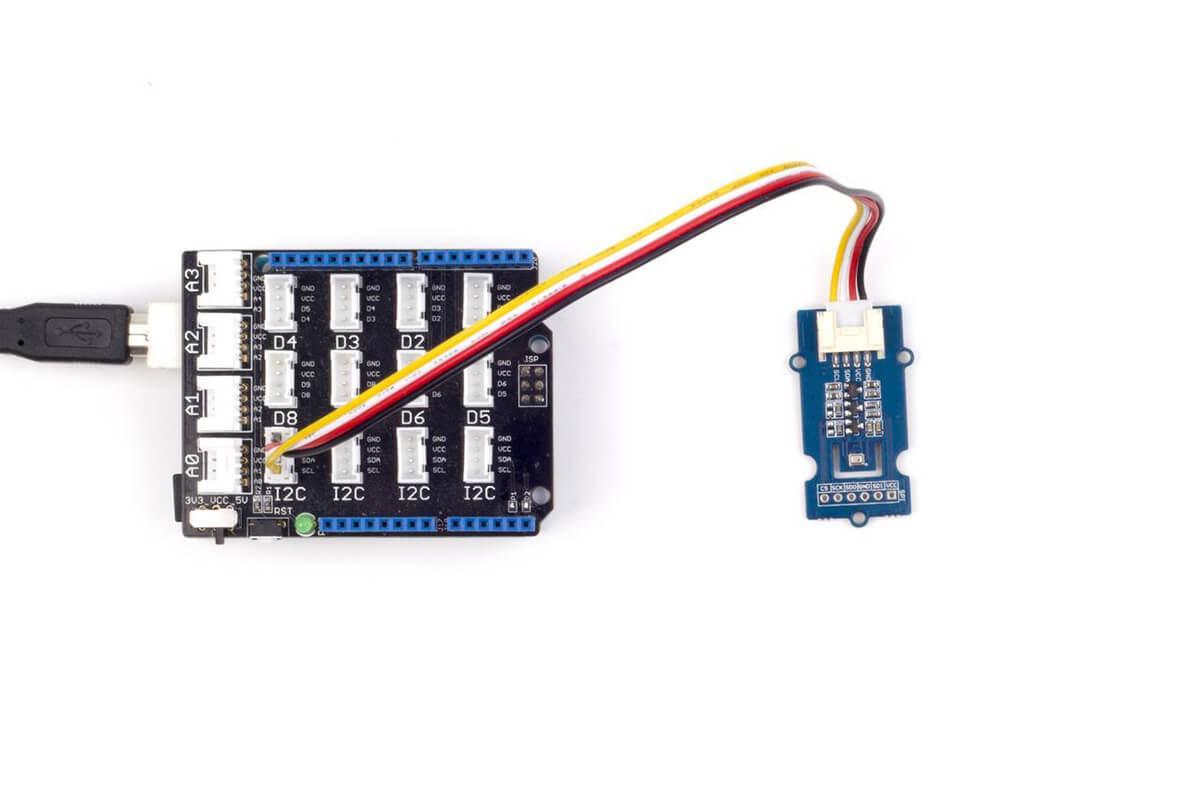
Connect all parts as follows: the first picture shows connection with Seeeduino, the second one demonstrates connection with Arduino UNO:


Coding
You can find more demo sketches here and development library here
A typical demo code. You can upload code to main control board with Codebender.
Download and upload the code. If you do not know how to upload an Arduino sketch, please visit https://www.arduino.cc/en/Guide/Windows for Windows user or https://www.arduino.cc/en/Guide/MacOSX for Mac user. You can see the result as below.
Tips: if you use Seeeduino, please also select Boards under Tools as you upload sketches.
Resources
Library and example code on GitHub
Last updated